
 |
|||
|
|
||||||||
|
|
|||||||||
|
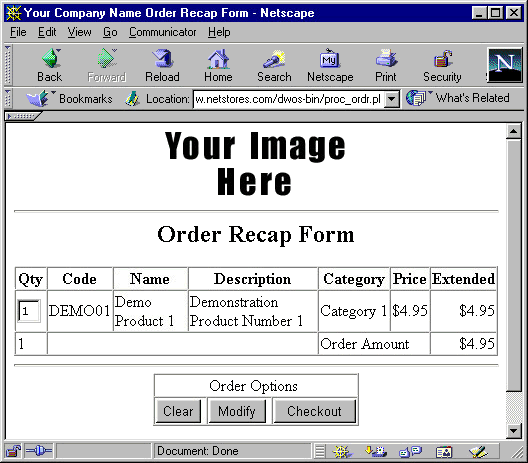
NetStores E-Commerce ExtensionsView CartOverview To enable customers to view and modify their orders from your online Web store, you can add the NetStores View-Cart button to your Web pages.
Before you start using the View-Cart feature, if you have not already done this, select the NetStores panel from the Dreamweaver Objects panel by selecting NetStores from the drop-down menu.
For the View-Cart button to work, you must first complete Steps 1-7 (start at Step 1 - Setup).
Simply position the cursor where you want
the view-cart link and click the View-Cart icon You can change the look and feel of the View-Cart link or button to suit your preferences by selecting your own link text or button image, as well as roll-over and on-click images. To make these modifications, insert entries in the NetStores View-Cart dialog box (see picture) as follows:
The last setting you used to create a View-Cart button will be saved for the next time you use the View-Cart object. The default result for the View-Cart link is a simple link like: View Cart.
For additional information, go to the online Dreamweaver extensions page at http://Dreamweaver.netstores.com/.
Getting Started / Installing / Setup / Item File / Configure Store / Connect Item File / Copyright © 2002, Fishbone Communications, Inc. - NetStores ® Last Modified 1-25-2002 |

 .
. in the NetStores objects panel. The dialog box shown below opens.
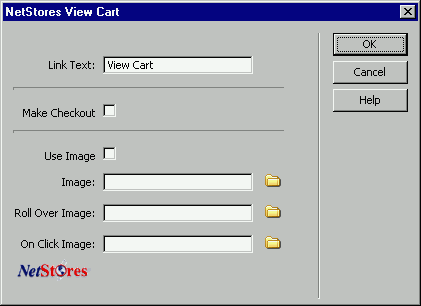